Sweet Sticks and Sugar Tricks: Introduction to Candy Sticks
You know that feeling when a memory hits you like a sugar rush? That’s what candy sticks do. One glance at their swirly patterns or a single crunch between your teeth, and you’re back in the corner shop, clutching a few coins and picking out your favourite flavour.
Candy sticks are a type of sugar candy with a long tradition and cultural significance, often celebrated for their historical roots and regional variations.
But these colourful confections aren’t just relics from childhood. Candy sticks are having a major moment right now. They’re showing up at parties, in gift boxes, and even stirred into your weekend cocktail.
Whether you’re discovering them for the first time or rediscovering a forgotten favourite, we’re diving deep into the sweet, swirly world of candy sticks.
What Are Candy Sticks?
At their core, candy sticks are just what they sound like: sticks made entirely of candy. They’re slim, cylindrical, and have that glassy finish that sparkles under the light. The classic kind is all sugar, corn syrup, and flavouring, boiled to perfection, cooled down, and shaped into those irresistible swirls.
Unlike lollipops, which come on a stick, candy sticks are the stick. That little twist makes them super versatile. You can snack on them, use them as stirrers for your hot chocolate, dip them into mason jars filled with whipped toppings, or even prop one on a birthday cake for a fun topper.
For a colourful party centrepiece or treat display, try arranging candy sticks upright in wide glasses.
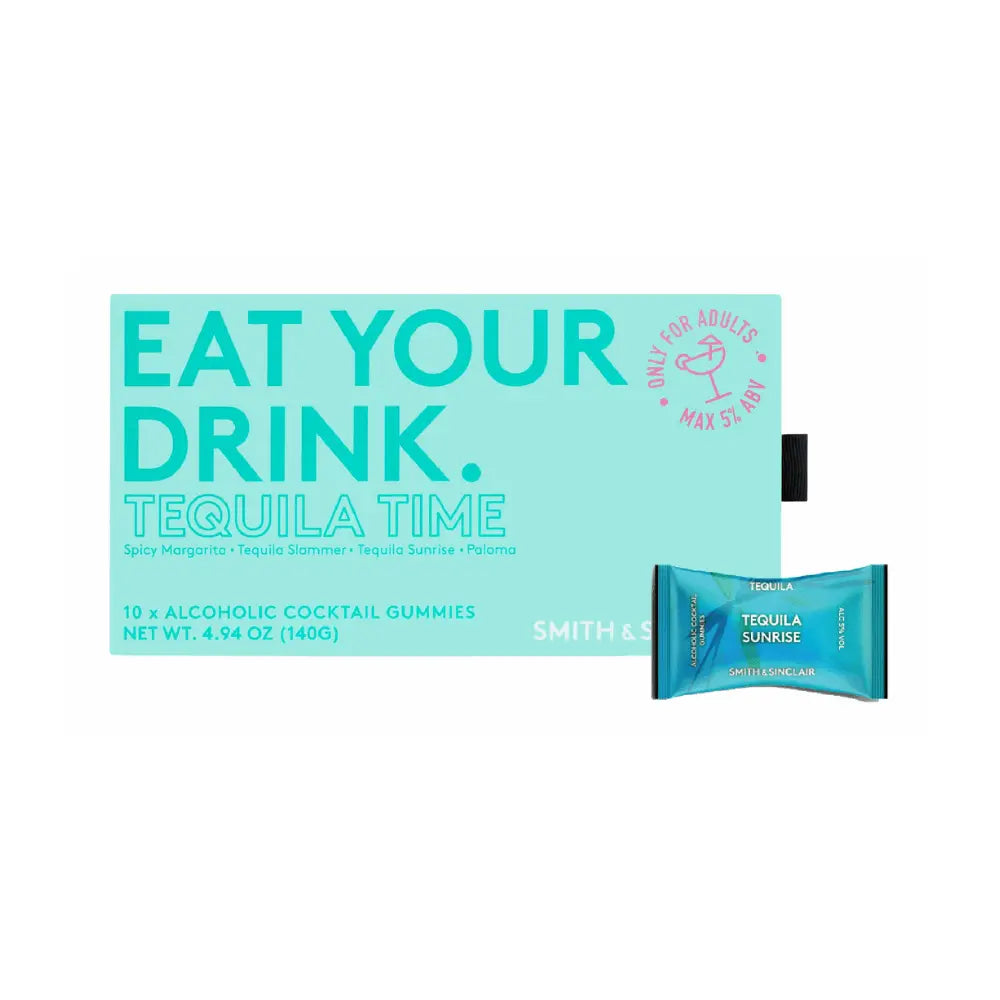
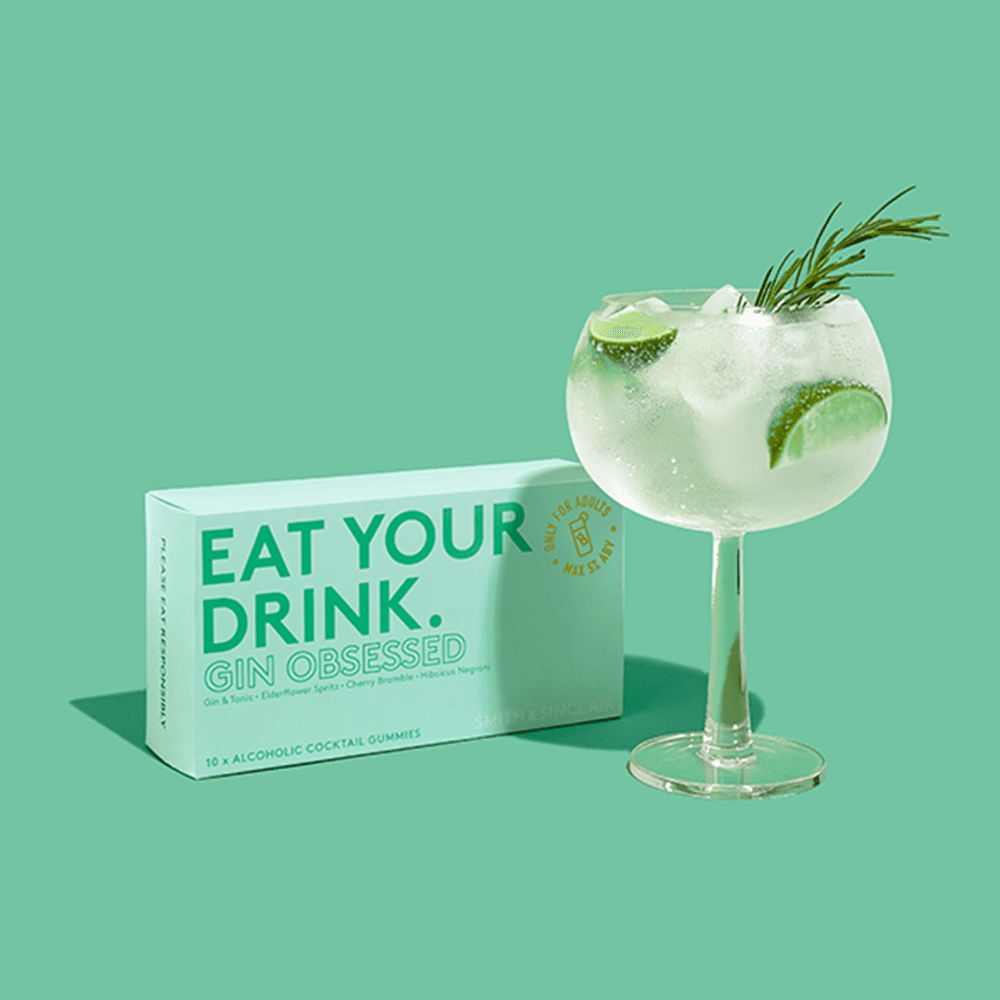
At Smith & Sinclair, we put a grown-up spin on these retro sweets. Our collection features bold, cocktail-inspired flavours like Bramble, Elderflower Gin, Mojito, and Berry Daiquiri. Trust us, these aren’t the candy sticks you grew up with, they’re even better.
A Sweet History Lesson
Candy sticks have been delighting sweet tooths for over a hundred years. They first appeared in the 1800s, back when sugar was still something special. Early versions were made using cane sugar and corn syrup, and dyed with food colouring from natural sources.
By the time the 1950s rolled around, candy sticks had taken over candy jars across the country. Every corner shop had a stash, and kids would line up to pick out their favourites. These colourful sugar sticks were a treat that kids could eat slowly, savoring the taste.
Today’s candy sticks are all about fun, flavour, and function. They come in bright colours, wild flavours, and sometimes even sparkle. They’ve evolved with the times, but still deliver that same glass-like crunch.
Over the decades, countless recipes for candy sticks have emerged, each offering unique flavours and techniques for making this classic treat.
So Many Sticks, So Many Styles
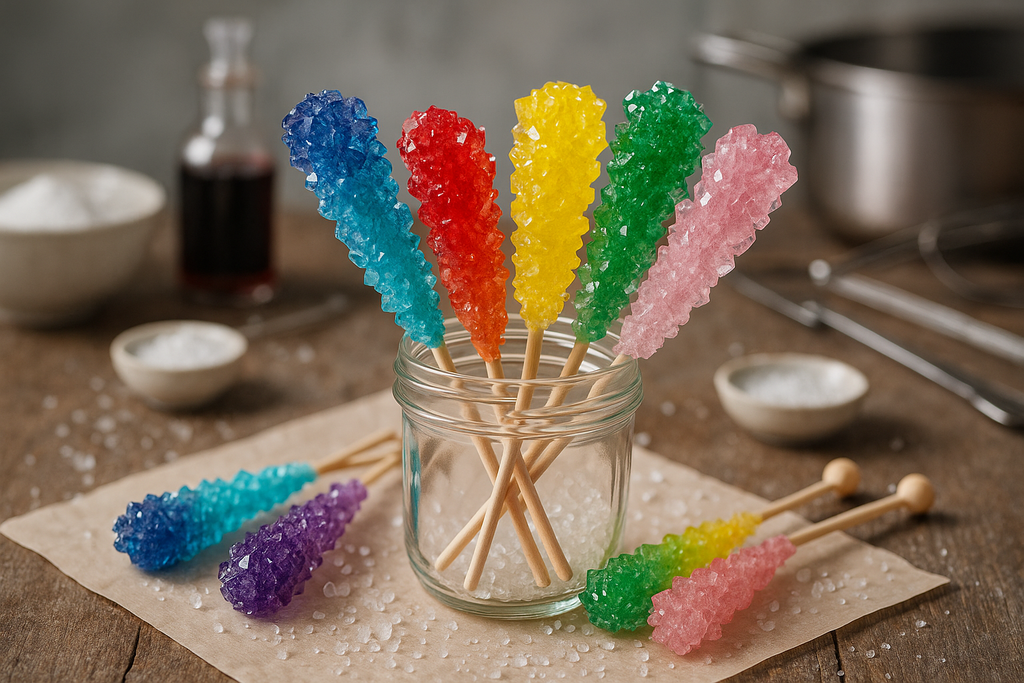
Candy sticks might seem simple, but the variety is endless. Some are striped, some are solid, and some even come with sugar crystals or a powdery topping. There are smooth ones, and ones with that crunchy sugar crystal texture that feels a bit like rock candy sticks.
Here’s what makes candy sticks so fun to explore:
-
Flavour Profiles: From Rainbow to White Gold, and Latte Stirrer combinations. Some candy sticks feature mixed flavours, offering a unique and surprising taste experience.
-
Textures: Smooth and shiny or a little rough with powdered sugar or crystal crunch.
-
Colours: Rainbow swirls, pastel twists, or elegant gold and white for festive events. You’ll also find candy sticks with mixed colours, where different shades are blended together for a vibrant, eye-catching treat.
Some are kid-friendly classics, while others feel more elevated for adults. There’s really a candy stick for every sweet craving.
How Do They Get That Swirl?
Making candy sticks is where candy making turns into a fun science experiment and a hands-on cooking project. It starts with heating sugar, corn syrup, and water over medium high heat, stirring the mixture until dissolved.
Continue heating until it reaches a rolling boil and 300°F, the hard crack stage. Watch for bubbles during this stage and pop any that form to ensure a smooth finish. This is where a candy thermometer becomes essential.
Once the mixture is at the right temperature, it’s taken off the heat and flavoured. Then comes the fun part: adding different colours. You can mix them slightly for a marbled look, or twist them tightly for defined stripes.
The candy is pulled, rolled, and stretched into long shapes before it’s cut down to two inches or more. After cutting, carefully break the sticks into segments if needed.
For best results, roll the sticks in sugar to create seed crystals before letting them set. If you want different shapes, fill moulds or containers with the mixture.
The candy is left to cool until firm and shiny. Some candy makers even dip the sticks in crushed candy cane pieces or coat them in syrup to create a festive look. Every step plays a role in the final taste and shape.
Ingredients and Supplies: What You’ll Need
Before you dive into the world of rock candy sticks and homemade candy making, it’s time to gather your sweet essentials. The magic starts with simple ingredients: granulated sugar, water, and a splash of corn syrup to help those sugar crystals form just right.
For a burst of colour and flavour, reach for your favourite food colouring and extracts, think peppermint, fruity flavours, or even a hint of vanilla.
You’ll need sturdy lollipop sticks or bamboo skewers to serve as the base for your rock candy. Mason jars or other wide-mouthed containers are perfect for growing your crystals, giving them plenty of space to sparkle. A medium saucepan is a must for boiling your syrup, and a candy thermometer is your trusty sidekick for hitting that perfect temperature.
Don’t forget the little extras: a funnel for pouring hot syrup, clothespins or wire to keep your sticks centered, and heat-resistant gloves for safety. If you’re feeling adventurous and want to try chocolate candy sticks, grab some melting chocolate and candy stick molds for a whole new twist.
With these supplies on hand, you’re ready to mix, pour, and watch the magic happen, turning everyday sugar into dazzling, delicious candy sticks.
Using Brown Sugar: A Twist on Tradition
Ready to shake up your rock candy recipe?
Swap out white sugar for brown sugar and discover a whole new world of flavour. Brown sugar brings a rich, caramel-like taste and a warm, golden colour to your rock candy sticks, making each bite a little more special.
Because brown sugar holds more moisture than its white counterpart, you might need to use a bit more to get those signature sugar crystals to form. The process is a fun experiment; watch as the crystals grow, taking on a slightly different shape and hue. While your rock candy may not be as clear as the classic version, the deeper flavour and unique look are worth a try.
So, if you’re craving something a little different, grab that bag of brown sugar and let your next batch of rock candy sticks surprise your taste buds. It’s a tasty twist on tradition that’s sure to be a hit with anyone who loves to experiment in the kitchen.
More Than Just Candy

You might think candy sticks are just sweets to eat, but they’re actually super versatile. People use them in baking, crafts, and even science lessons.
Here are a few creative uses:
-
Stir them into hot chocolate, tea, or cocktails.
-
Use them as edible decorations on cakes and cupcakes.
-
Wrap them in cellophane and tie with ribbon as party favors.
-
Add them to mason jars for themed treats or centrepieces.
-
Use them in classroom science experiments to show how sugar crystals form.
Candy sticks and candy canes can also be incorporated into other recipes for festive treats.
Their shape makes them easy to hold, and their vibrant colours and flavours add a playful element to any occasion.
Are They Kid-Friendly?
Yes, with a few important notes. Because they’re hard candy, they’re best for children over age four to avoid choking hazards. Always supervise younger kids when they’re enjoying these treats.
Candy sticks are made mostly from sugar, corn syrup, and flavouring. Some versions are even gluten free. Others are made with ingredients like brown sugar or natural extracts to offer different tastes and colours.
You’ll even find sugar-free or naturally sweetened options for kids with dietary restrictions, and some families may prefer these alternatives for health reasons.
Just like with other sweets, moderation is key. But when used creatively or as an occasional treat, they’re a fun and safe way to enjoy a bit of sweetness.
Sweet Trivia to Drop at Your Next Party
Here are some fun facts about candy sticks and their sugary relatives:
-
The longest candy stick ever made was over 50 feet.
-
Some cultures use intricately designed sticks in holiday or wedding ceremonies.
-
Rock candy sticks are often used to demonstrate crystal formation.
-
Homemade rock candy can be a fun, edible science project for kids.
-
Store bought candy sticks can last up to a year if stored in an airtight container.
-
Some candy sticks are sold in half-length segments for easier snacking or portion control.
Whether it’s nostalgia or novelty, there’s something special about these little sticks of joy.
How Do Candy Sticks Compare to Other Sweets?
Candy sticks are in a category all their own, but they share some similarities with other classic treats. Rock candy forms when sugar crystals grow on a stick, often in mason jars or similar setups. Lollipops use lollipop sticks, but have the candy part moulded around it. Candy canes are curved versions with a signature peppermint taste and festive appearance.
Unlike store bought gummies or chocolate, candy sticks are often handmade or small batches. The process of pulling, cooling, and shaping the candy gives each one a unique texture. And while they look delicate, they pack a tasty crunch.
How to Make Them at Home
Yes, you can absolutely try making your own homemade rock candy or traditional candy sticks. It’s a tasty project and a great opportunity for a science lesson too.
You’ll need:
-
2 cups sugar
-
¾ cup water
-
⅔ cup light corn syrup
-
A small amount of flavouring and food colouring
-
A candy thermometer
-
Wax paper or silicone mat
Steps:
-
Combine sugar, corn syrup, and water in a pot. Heat gently, then bring to a boil over medium high heat.
-
Use the candy thermometer to track the temperature. Once it reaches the hard crack stage, remove from heat.
-
Mix in your flavour and food colouring.
-
Carefully pour the hot liquid candy onto a lined surface. Let it rest until it’s cool enough to handle.
-
Pull and shape the candy into sticks, or allow sugar crystals to form if making homemade rock candy.
-
Let everything cool fully, then wrap in cellophane or store in an airtight container.
Remember, this process is hot and sticky. Make sure kids are only helping with safe parts like mixing colours or watching crystals form.
Troubleshooting Tips for Perfect Candy Sticks
Candy making is part art, part fun science experiment and sometimes, things don’t go exactly as planned. If your rock candy isn’t forming crystals, or your candy canes keep breaking, don’t worry! Here are some sweet solutions to common candy stick challenges:
-
Crystals on the Container: If sugar crystals are sticking to the sides of your jar instead of your stick, make sure your container is wide enough. Use a clothespin or wire to keep your stick centered and off the bottom, so the crystals have room to grow.
-
Temperature Troubles: Getting your syrup to the right stage is key. A candy thermometer takes the guesswork out, aiming for the hard crack stage for the best results.
-
No Crystals Forming: If your rock candy isn’t growing, let the syrup cool a bit before adding your stick, and avoid making candy on humid days. Too much moisture in the air can slow down crystal formation.
-
Candy Canes Breaking: If your candy canes are brittle, you might be overheating the sugar or not pulling the mixture enough. Try adjusting your technique for a smoother, more flexible candy.
-
Chocolate Candy Stick Issues: White spots (blooming) on chocolate sticks? Store them in an airtight container at room temperature to keep them looking and tasting their best.
Remember, every batch is a chance to learn and have fun. With a little patience and these troubleshooting tips, you’ll be making perfect candy sticks in no time.
Storage and Shelf Life: Keeping Your Sticks Sweet
Once you’ve crafted your homemade rock candy sticks or candy canes, keeping them fresh is easy with the right storage. For rock candy, let the sticks dry completely, then tuck them into an airtight container, this keeps those sugar crystals crisp and tasty for up to a year. Store your container in a cool, dry spot to protect your candy from moisture.
Candy canes stay at their best when wrapped individually in cellophane or plastic wrap, then stored away from heat and sunlight. Chocolate candy sticks need a little extra care: keep them in an airtight container at room temperature to prevent blooming and preserve their smooth finish.
If you’re planning to keep your candy sticks for a while, consider adding a desiccant packet to your container to absorb any stray moisture. And before you enjoy your sweet creations, give them a quick check to make sure they still look and taste as delicious as the day you made them.
With these simple storage tips, your candy sticks will stay sweet, crunchy, and ready to enjoy, whether you’re saving them for a special occasion or just a well-deserved treat.
Your Candy Stick Questions, Answered
What are candy sticks made of?
Mostly sugar, corn syrup, water, flavouring, and sometimes powdered sugar.
When were candy sticks invented?
They date back to the 1800s.
Are they still popular?
Definitely. They’re a classic, and today they come in everything from traditional to cocktail-inspired flavours.
Can I make them at home?
Yes, and it’s a fun science experiment to try with children.
How are they different from lollipops?
Candy sticks are edible throughout. Lollipops are formed on sticks.
Are they safe for kids?
Yes, for kids over 4. Younger ones should wait.
What about sugar-free options?
Available in some shops and online. Just read the labels.
What flavours are out there?
Everything from fruit to chocolate to cocktail-inspired.
Can I use them in drinks?
Yes. Try them as stirrers or flavour boosters.
How long do they last?
About a year when stored properly.
Why We Still Love Them
Candy sticks have timeless appeal. They’re sweet, colourful, and bring a smile to your face. Whether you’re baking, decorating, or just enjoying a treat, they’re the perfect combination of fun and flavour.
At Smith & Sinclair, we’re reinventing the stick with bold flavours and grown-up flair. Whether it’s our Bramble or Elderflower Gin variety, these sweets are made to be shared, gifted, or savored slowly.
So unwrap one. Let it melt slowly. And enjoy the sweet, simple joy of a candy stick, just like you used to.
Latest Posts

20
Jul


26
Jun

17
Jun